Think before uploading that 2MB image to your WordPress website! Have you seen images that slowly “drool” down the screen and take more than 15 seconds to load? Well, that happens because those images were not optimized. Images are a critical part of your website, but working with images for the web is a little complicated. For all the amazing bells and whistles WordPress and your page builder have to offer you, images are still challenging to get right before uploading. There are some basic things you need to do first to get your images ready. Let’s review them. . .
What does it mean to optimize images?
Optimizing images is the process of decreasing their physical size in pixels, file size in weight, resolution in DPI, and saving your image as the right file type.
- Physical size: This is how the image presents itself (the dimensions in px).
- File size weight: This is how many bytes of data the file consumes in MB or KB.
- Resolution: The number of pixels that exist within an image. The higher the resolution, the clearer the image. Measured in DPI.
- File type: This refers to the format in which your file is saved. When we talk about images for the web, we’re generally referring to JPG and PNG.
The most important reason to optimize your images is to give your visitors an amazing user experience. Large images slow down your web pages, which is frustrating for visitors. It may even cause them to leave your website.
Image optimization is another skill-set in addition to editing in WordPress that you need to learn a little about before adding images to your site. WordPress is not the problem, it’s the nature of cameras, screens, file formats, and DPI which makes images tricky for the web.
Cameras are designed to create images for print. Printing images requires a much higher resolution than a computer or device’s screen does. If you just placed an image straight from your camera onto your web page, the image would exceed the width of the whole screen by at least twice. Even if you reduced the DPI of the image down to 72 (the resolution of a typical desktop screen), the image would still be too large for your 800-pixel wide content area.
Physical Size
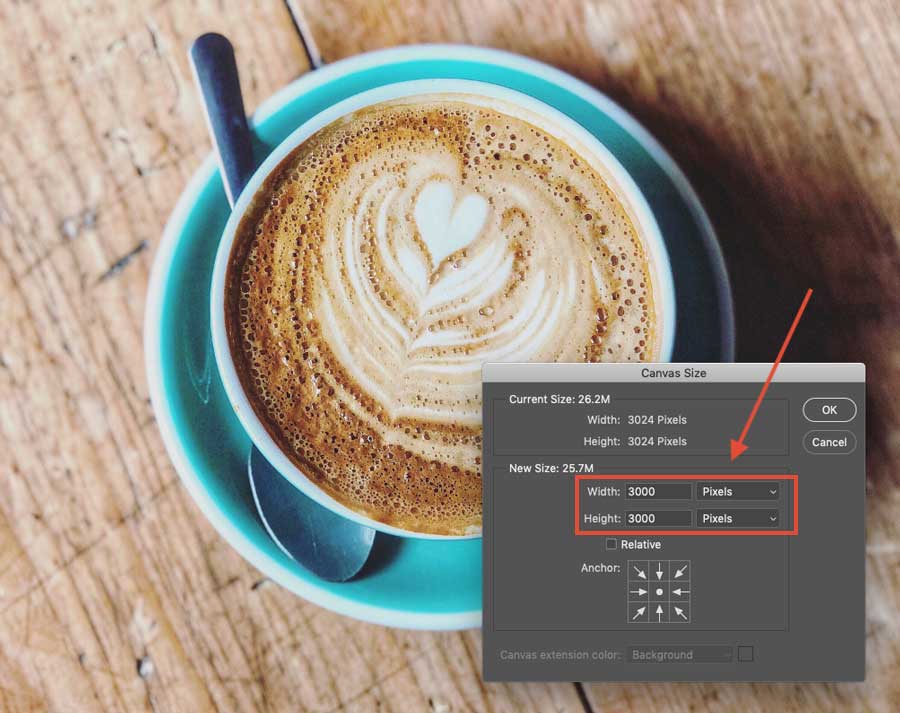
Bigger doesn’t always mean better. WordPress can handle any image size. Regardless of the dimensions of your uploaded images, the images will be scaled down to fit the main content block (ie: the area where blog posts are displayed). For example, let’s say you need a cropped image of 400×300 pixels, but you upload a 3000×3000 pixel image. WordPress will scale the image to display properly— responsive images!
HOWEVER, this will not only increase your bandwidth, but it’ll make your photo and page load very slowly. The best approach is to take note of the image dimensions and size your images accordingly (learn how below). Get your image dimensions correct before you upload. That way you’ll be dealing with a smaller physical image size from the start.
File Size Weight
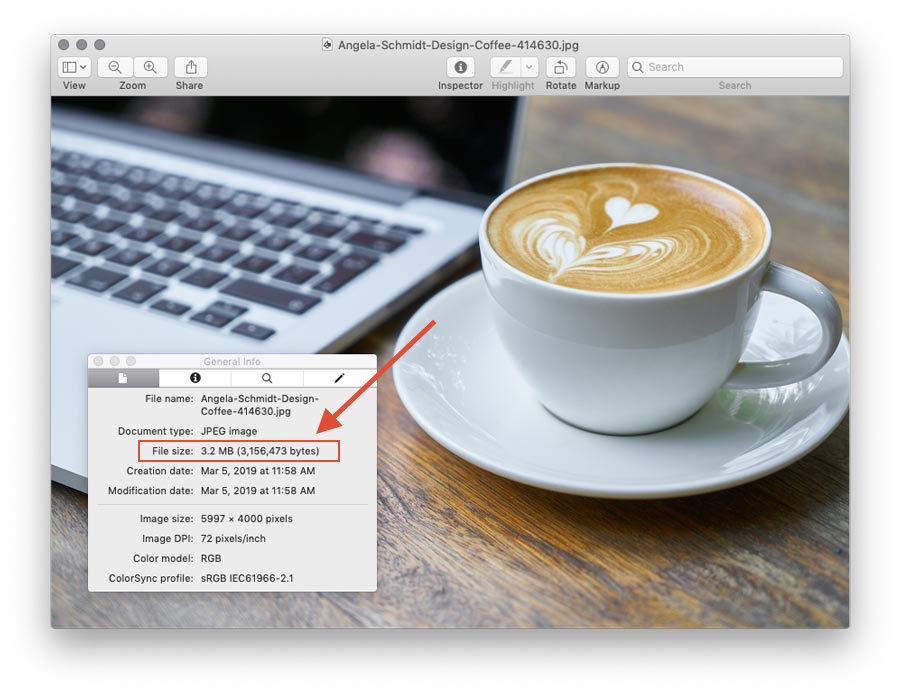
Don’t upload that large image to WordPress! If you upload large images to your site, you’ll hurt your website’s performance, page load time, and your Google ranking. Larger images take longer to load and use more bandwidth. Large images are those with high file size weights, which are measured in KB, MB, or GB.
Since your visitors expect your web pages to load fast, it’s important that your images are small enough to ensure a speedy site. The general rule is to keep your images under 100KB. If this is not possible with your photo editor, further compress your images using an online lossey compression tool such as TinyPing or Image Compressor.
Resolution
DPI (dots per inch) is the measurement to look for to determine the resolution of an image. 72 DPI is the standard resolution output you’ll see on most images for web, while 300 DPI is what you’ll likely get when using an image for print.
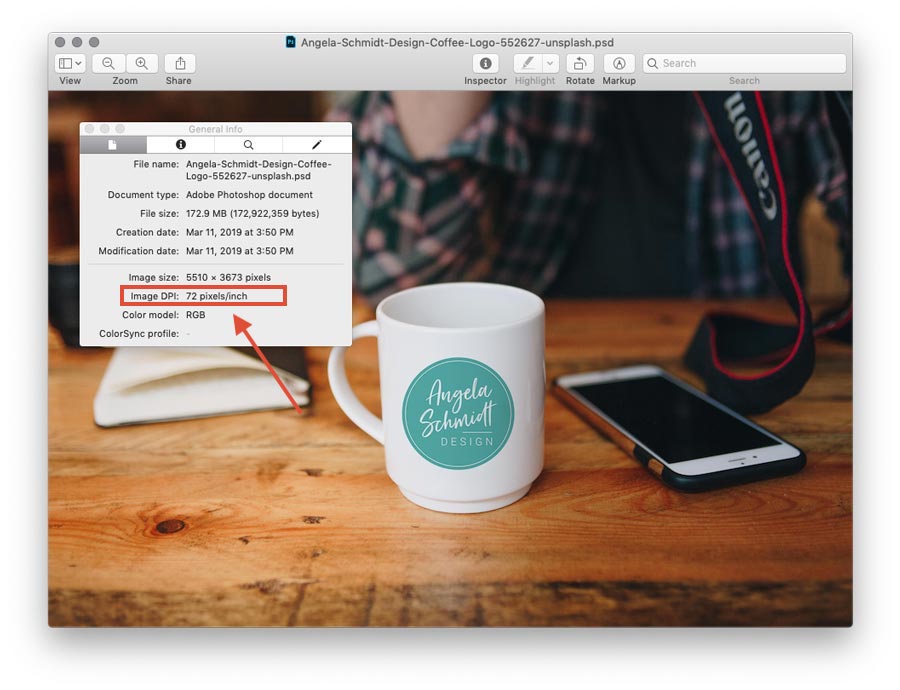
Image File Type
You should save your images as a JPG or PNG when using them for web. Each file type has its own strengths and weaknesses. It is very important to keep these in mind when saving an image.
JPG: Uses lossey and lossless optimization. You can adjust the images physical size and quality level for a good balance of image quality and file size weight.
PNG: Produces higher quality images, but with a much larger file size weight. Use this file type when you need a transparent background, vector brand elements, and or your logo.
Images on this blog post are all optimized!
Physical File Size: around 900x600px
File Size Weight: all under 100 KB!
Resolution: 72 dpi
File Type: all images are JPG files, but the coffee cup brand elements below are PNGs! Why? Because they are vector elements and a PNG produces a sharper image. Also, the coffee cup elements are small and produced a very low PNG file size weight— under 10KB with a physical size of 300x250px.
Steps to optimize your images for web and SEO.
1. Name Your Images for SEO
It’s really easy to upload hundreds of images and keep the default file names your camera gave them. But did you know search engines not only crawl the text on your web page, they also crawl your image file names. For image SEO, use relevant keywords to help your web page rank on search engines. Create descriptive, keyword-rich file names to optimize your images. Let’s use this image as an example.
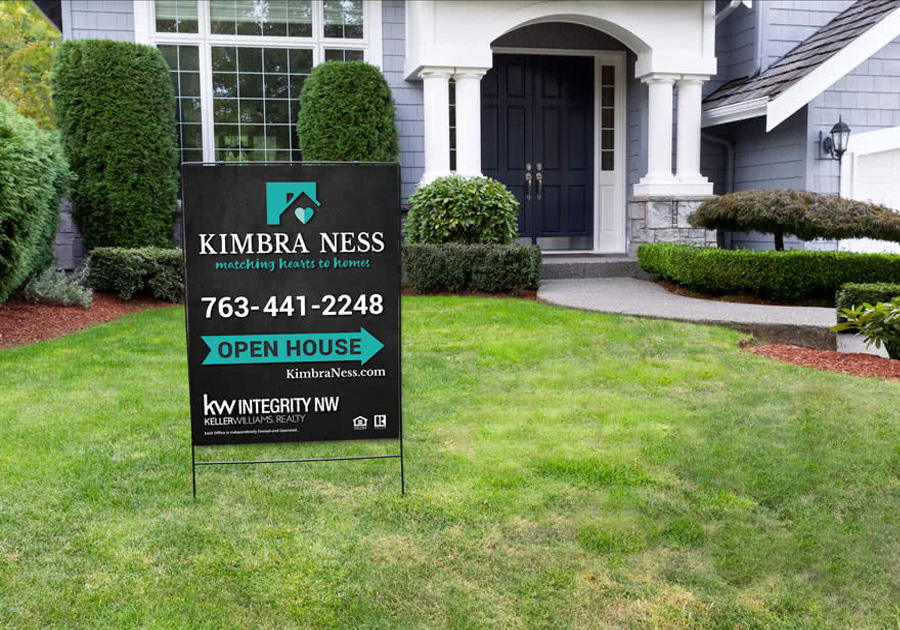
You could use the generic name the camera assigned to this image (IMG_150.jpg). However, it would be much better for SEO to name the file something like: Kimbra-Ness-Realtor-For-Sale-Sign-by-Angela-Schmidt-Design.jpg
Think about how your customers or clients are searching for your product, services, or company. What naming patterns would they use when they search? In this example above, users may search terms such as:
- Realtor For Sale Sign
- For Sale Sign Design
Use your website analytics to see what keywords your customers are using. Determine the most common naming patterns they use and apply that formula to your image file naming process. If you’re not going to get that data-driven, just be sure to use relevant, helpful keywords when naming your images. What words would you use to find your image online? Include those words in your image file name.
Image alt attributes are also important for SEO and image optimization. Alt attributes are the text alternative to images when a browser can’t properly load them. Alt attributes add SEO value to your website. Adding appropriate alt attributes that include relevant keywords to the images on your website can help you rank better in search engines. But don’t worry, if your site is designed by me I actually take care of the alt attributes for you by adding some custom code to your website, all you have to do is properly name your images for the web!
2. Saving Images for the Web.
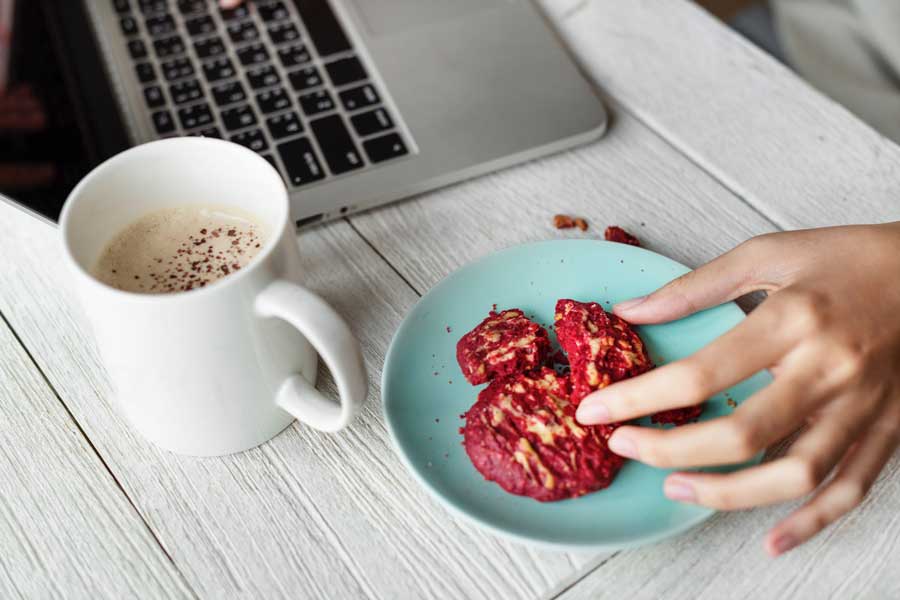
Let’s take this coffee-cookie photo for example. Yum, right? The original image’s physical size was 5000×3000px and the file size weight was 2.6MB! This is two to three times bigger than this page! We need to reduce this image file size significantly. After optimizing the coffee-cookie image, it’s physical size is now 900×600px and the file size weight is under 50KB! Yep, that’s a huge decrease in file size!
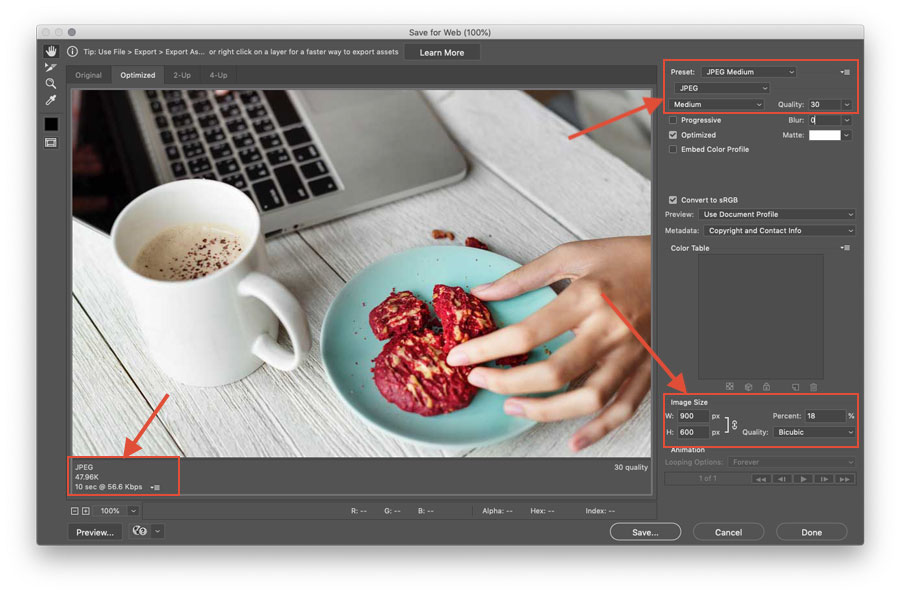
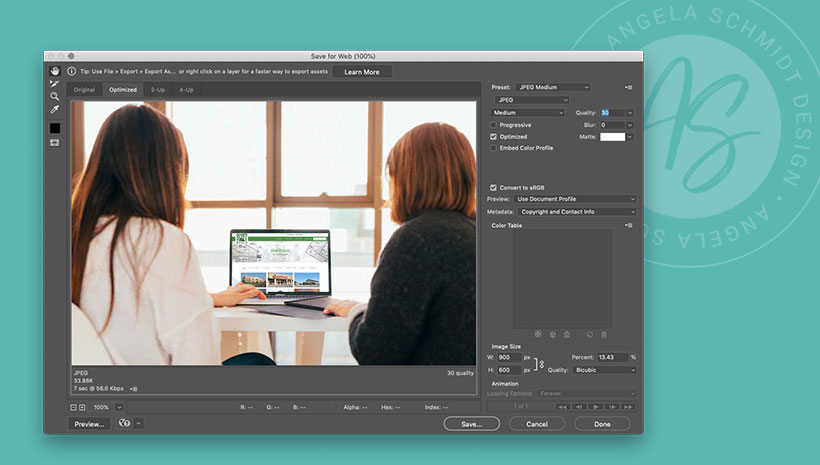
We optimized this photo using Photoshop’s “Save for Web” command to reduce the resolution from print (300 DPI) to web (72 DPI). When using this command, we can change the image’s physical size and adjust the image to the lowest file size weight possible by adjusting the quality setting. When using this adjustment, we keep an eye out for image quality. The goal here is to keep your images below 100 KB without loss of image quality. If it’s not possible to get your images below 100 KB due to image quality, try saving your image with a higher file size weight. Now take this image and upload it to an online lossey compression tool (TinyPing or Image Compressor) to get rid of any hidden data taking up space— the goal is to reduce the file size weight but not the quality of the image.
- Crop Images (if needed)
- Save for Web to Change Resolution to 72 DPI
- Change physical image size in pixels
- Adjust image quality to reduce file size weight: keep an eye on image quality
- Further optimize image using a lossey compression tool (if your file size weight is still too high)
How to optimize images without Photoshop
If you don’t have Adobe Photoshop, I recommend GIMP or Photopea and or Web Resizer. They are easy to use with good results.

